pWnOS:2.0 Vulnhub Walkthrough

Hello Guys! This is Russell Murad working as a Junior Security Engineer at Enterprise Infosec Consultants (EIC).
In this writeup, we’ll break an old machine created in 2011 named “pWnOS:2.0”. You can download it from here.
So, let’s get started…
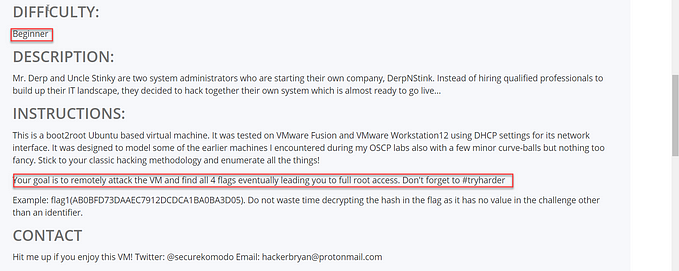
If you read the description, you’ll see it was designed for VMware though it says it can work with another virtual environment as well.

I’ve configured it with my VMware Workstation Pro 16.1.0. Set both victim and Kali machines in the host-only network configuration.

- At first, we have to assign IP in our kali machine by using those commands.

2. After that if we try “arp-scan”, our kali machine will discover the target machine’s IP.

3. Then we’ll use Nmap for port discovery.

There are two open ports, which are 80-HTTP && 22-SSH.
4. While scanning with Nmap, we can try Nikto scan for finding any kind of server-side vulnerability.


We can see there are some directories but not any kind of CVE, we’ve been waiting for.
5. Now we’ll try some directory bruteforcing using goBuster.


These are several directories, we’ll try those which has 200 status code on the browser in our kali machine.
6. When we enter the “/blog” directory, we’ll see it’s a PHP template website. There’s a Sourceforge link below the right side.


7. But we don’t know it’s version yet. So, we’ll use the burp suite and inspect its response. Its version is — 0.4.0

8. Now, we’ll use searchsploit and search if it has any public exploit.

We’ve got two exploits. In this write-up, we’ll use the first one.

9. Now, if we study the exploit, we’ll get its working command in the source which is commented out.

10. Then we’ll copy the exploit in our “/home/kali/Desktop/” directory. Then run it.


11. Now we can log in to the blog using admin as the username, password.

We’ll enter in this dashboard.
12. Now we can see there’s an image file upload functionality, which we can leverage for shell uploading.

We’ll use the pentest monkey’s php-reverse-shell.
13. In the “/images” directory there we can find the shell file.

14. Now we’ll open a Netcat listener and run the shell.php file from the browser.

There you can see it’s getting a response from the server.
15. We’ll go to the “/var/www/” directory from our terminal and open up the “mysqli_connect.php” file.

16. We’ll try those credentials for root access. But it won’t work. We can see here that the root password is different.

17. After spending some time accessing various directories and folders, we discovered that the “/var/” directory also contains a file named “mysqli_connect.php”. We’ll open it up.

and find some new juicy stuff.
18. We’ll use the new password as a root password and guess what it works.

We’re done here. Cause this old machine doesn’t contain any kind of flag stuff.
So, guys, that’s it for today.
Thank you for reading this write-up. Cheers!


